(MacOS) Vim을 기본 텍스트 에디터로 사용하기

맥에서 Automator를 활용해 기본 텍스트 에디터를 Vim으로 설정하는 법을 정리해본다.
Automator & AppleScript 설정
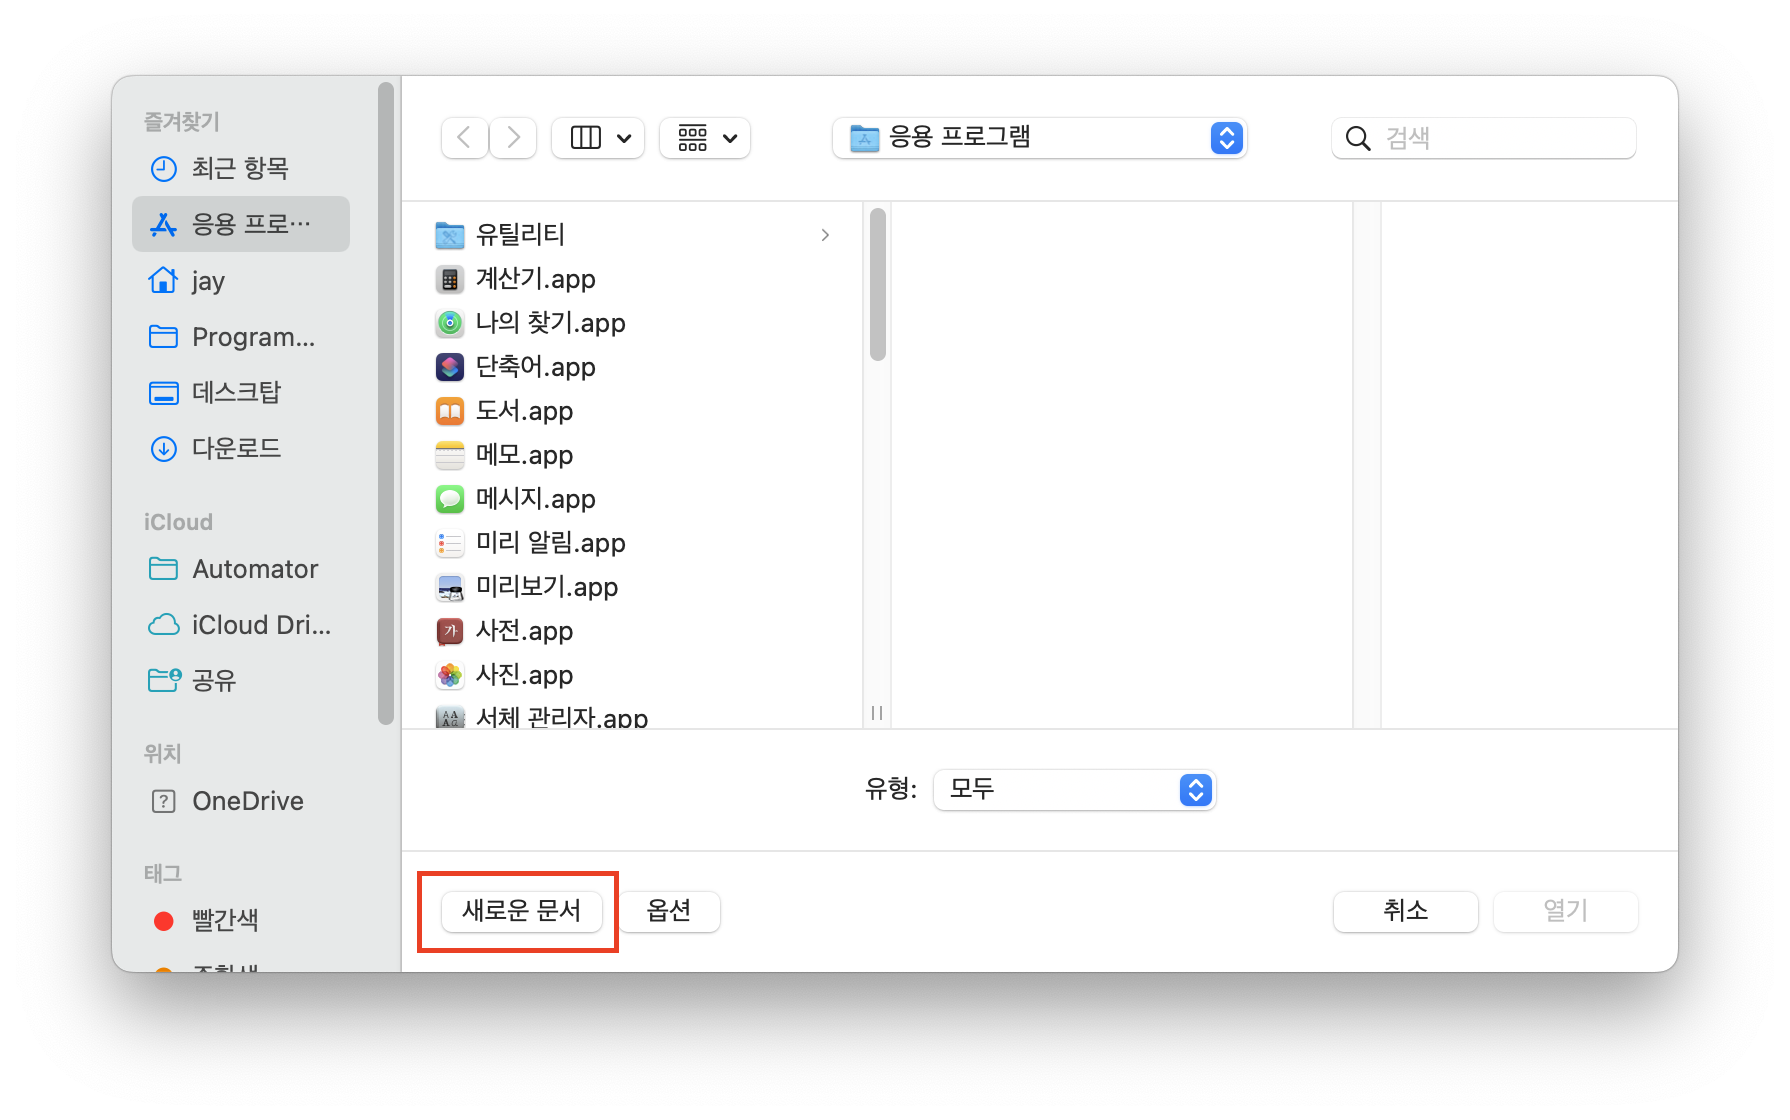
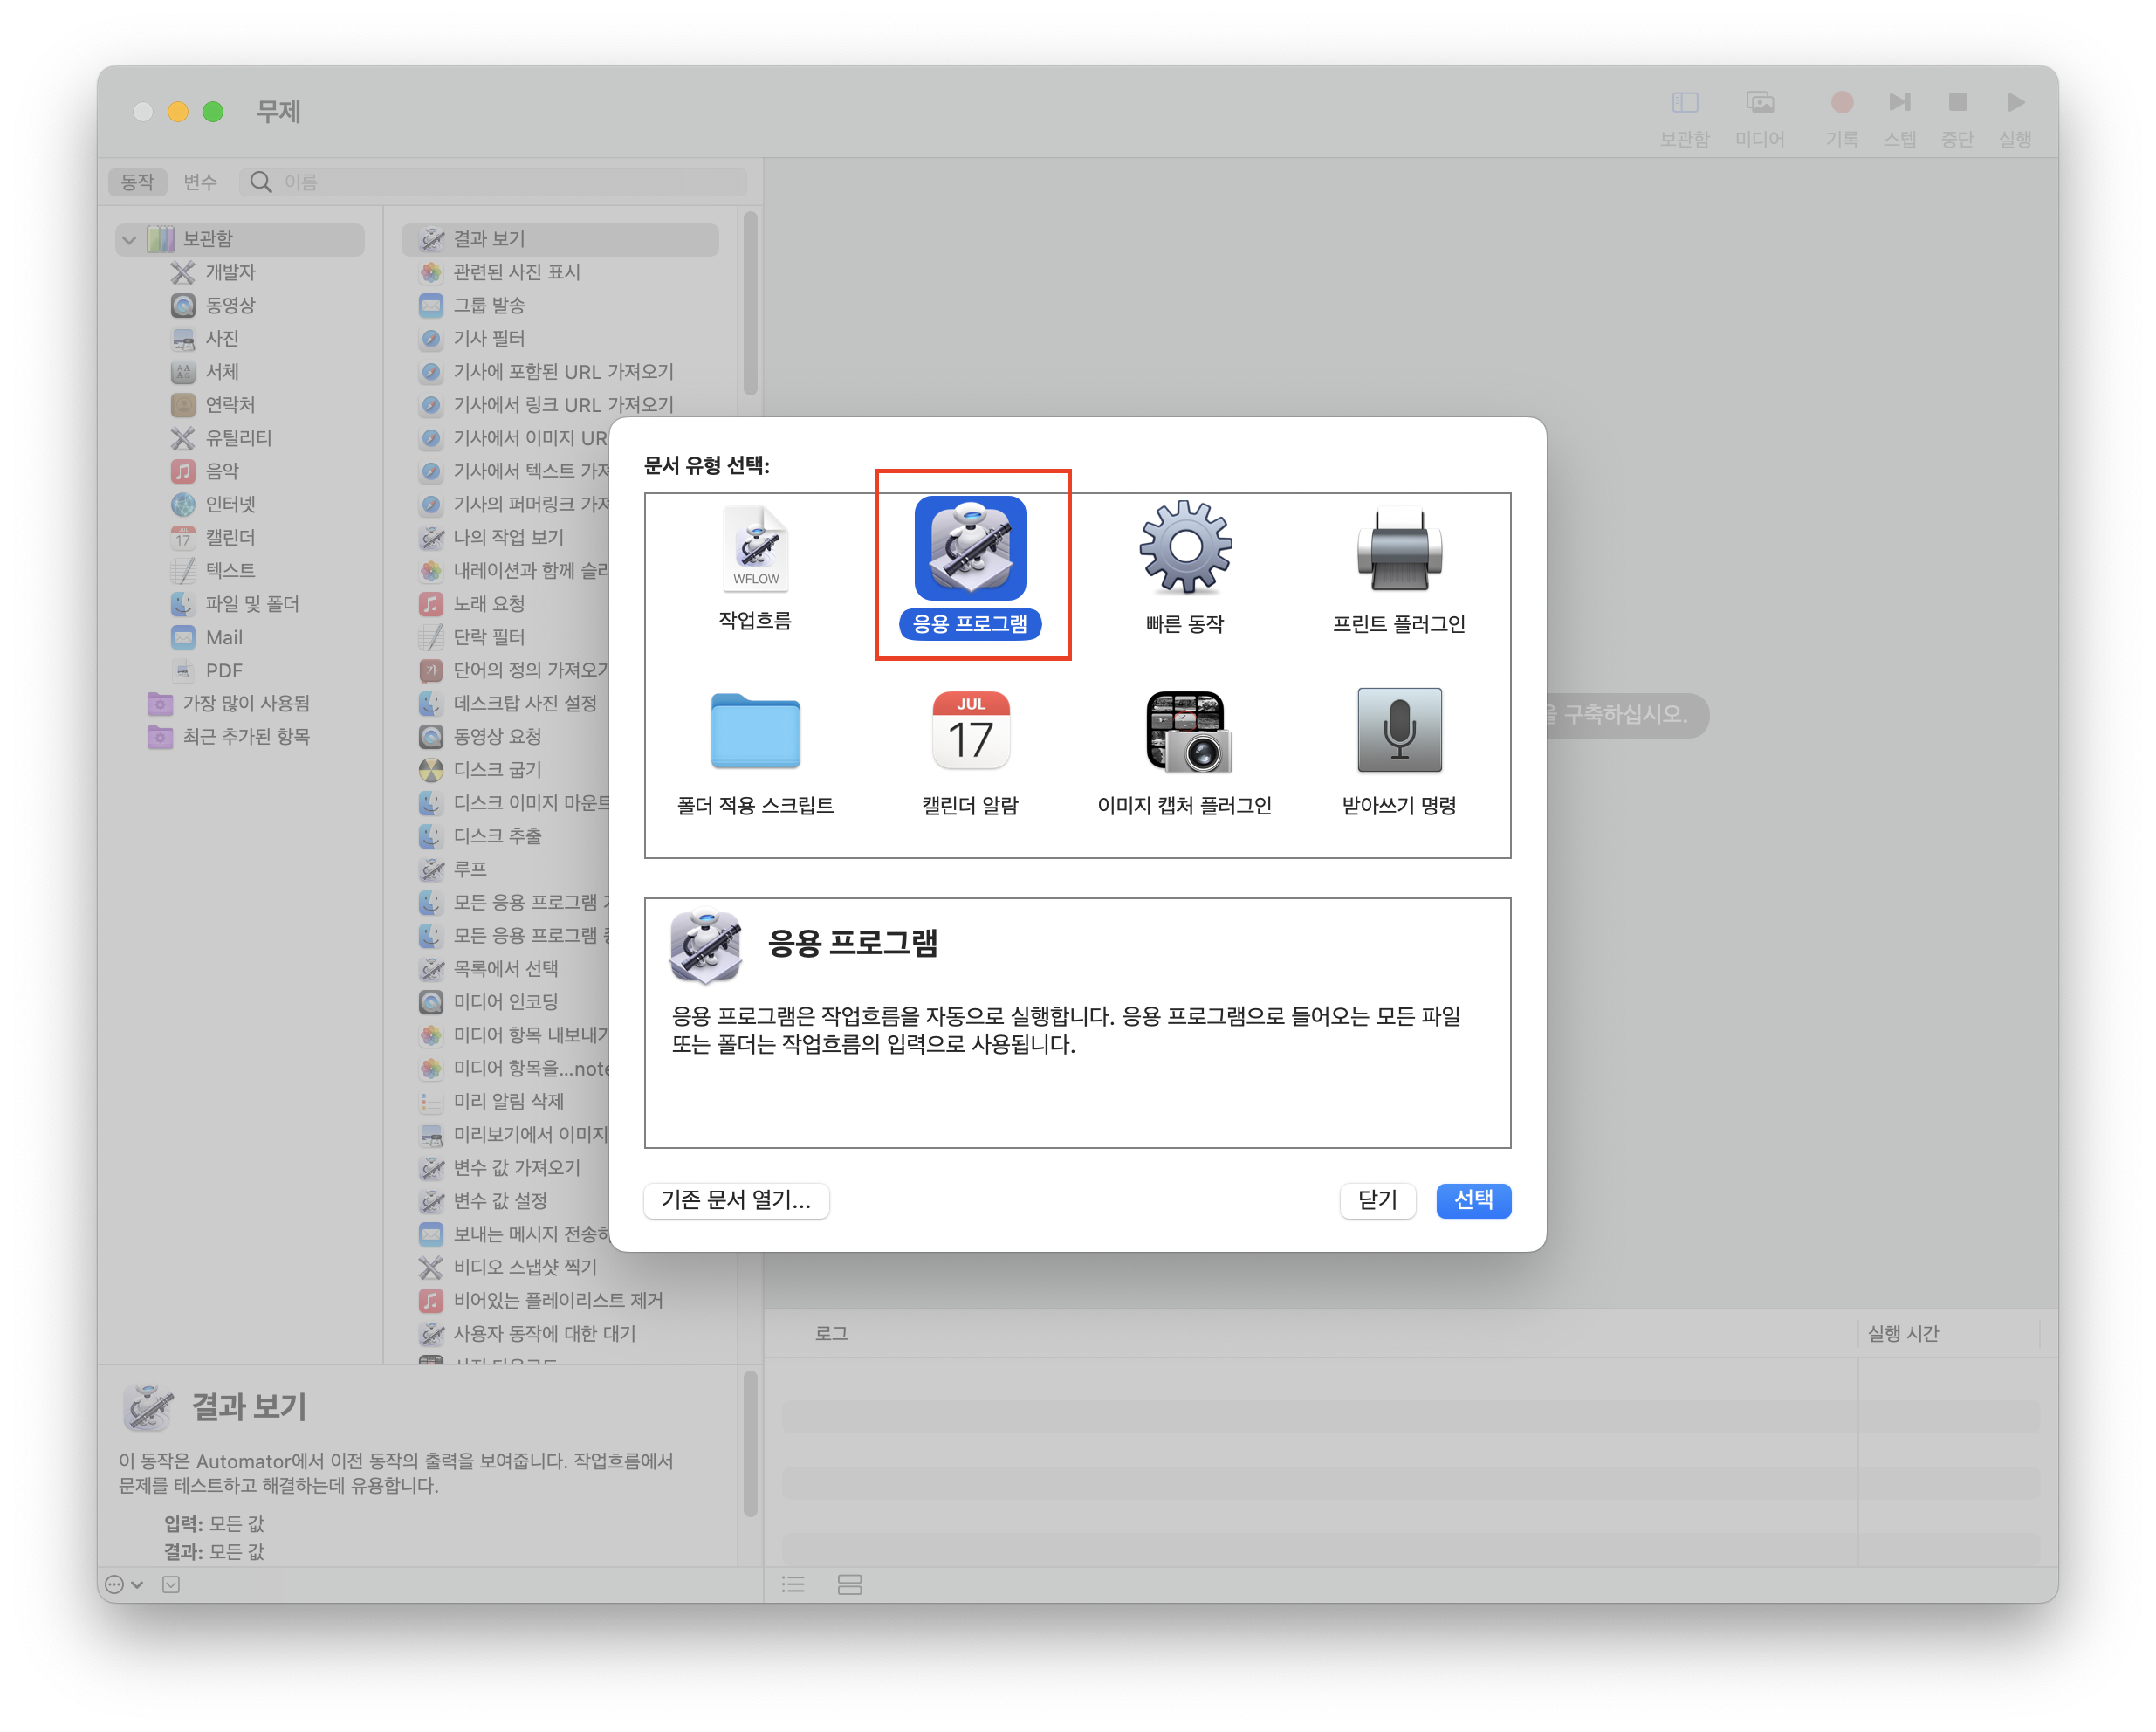
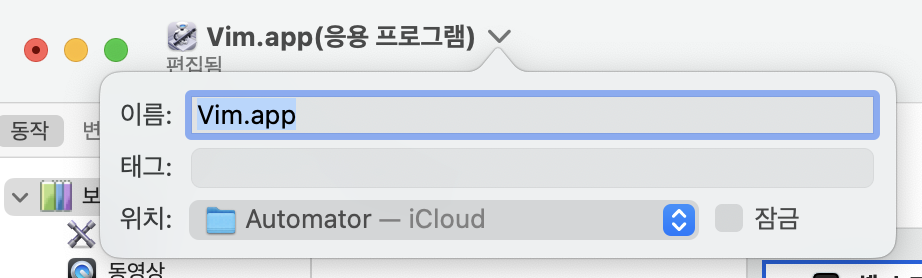
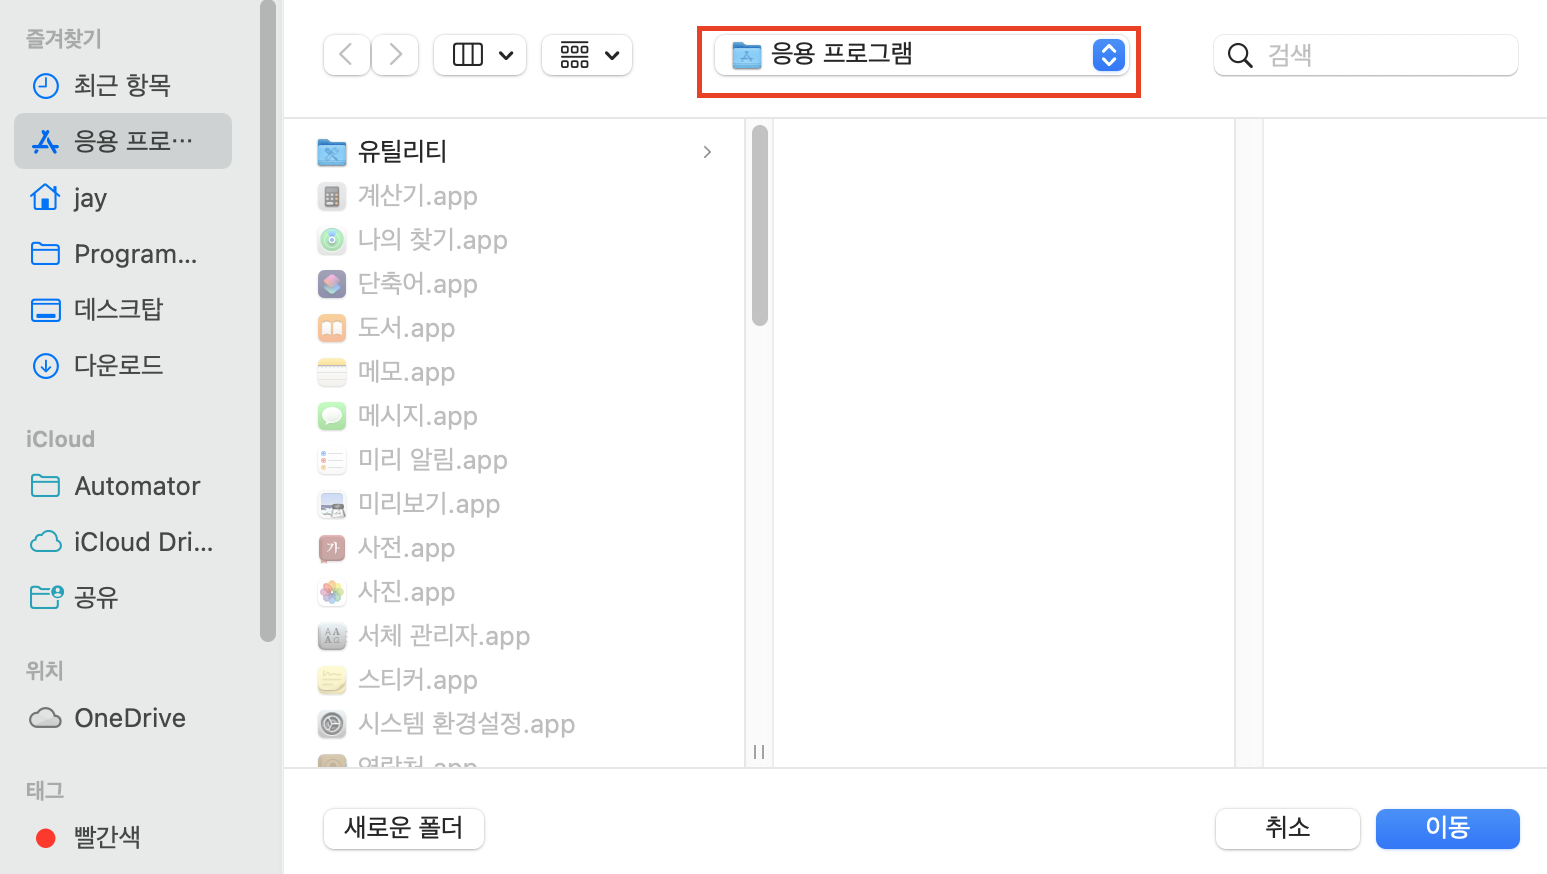
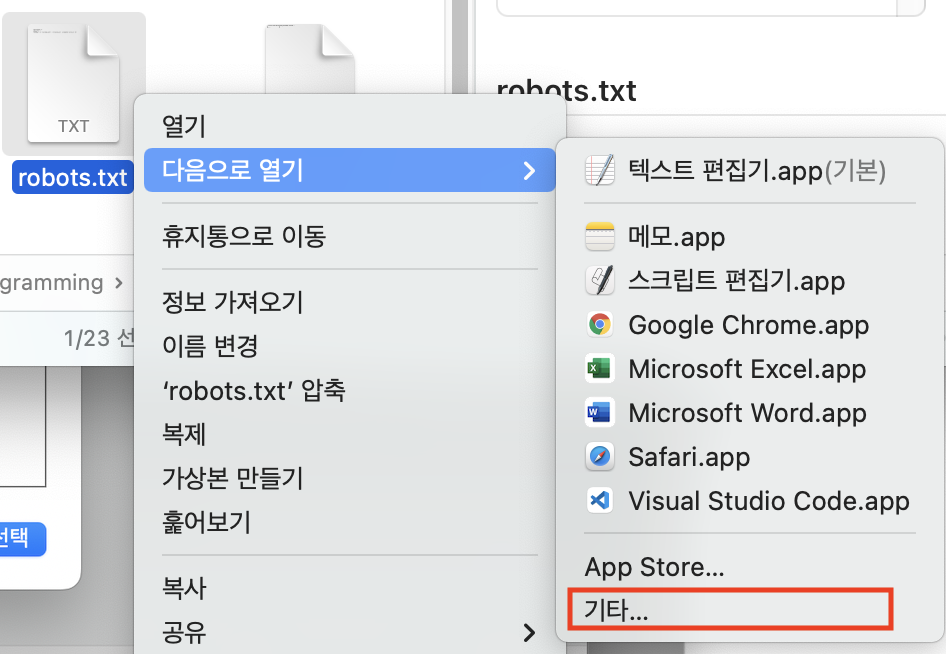
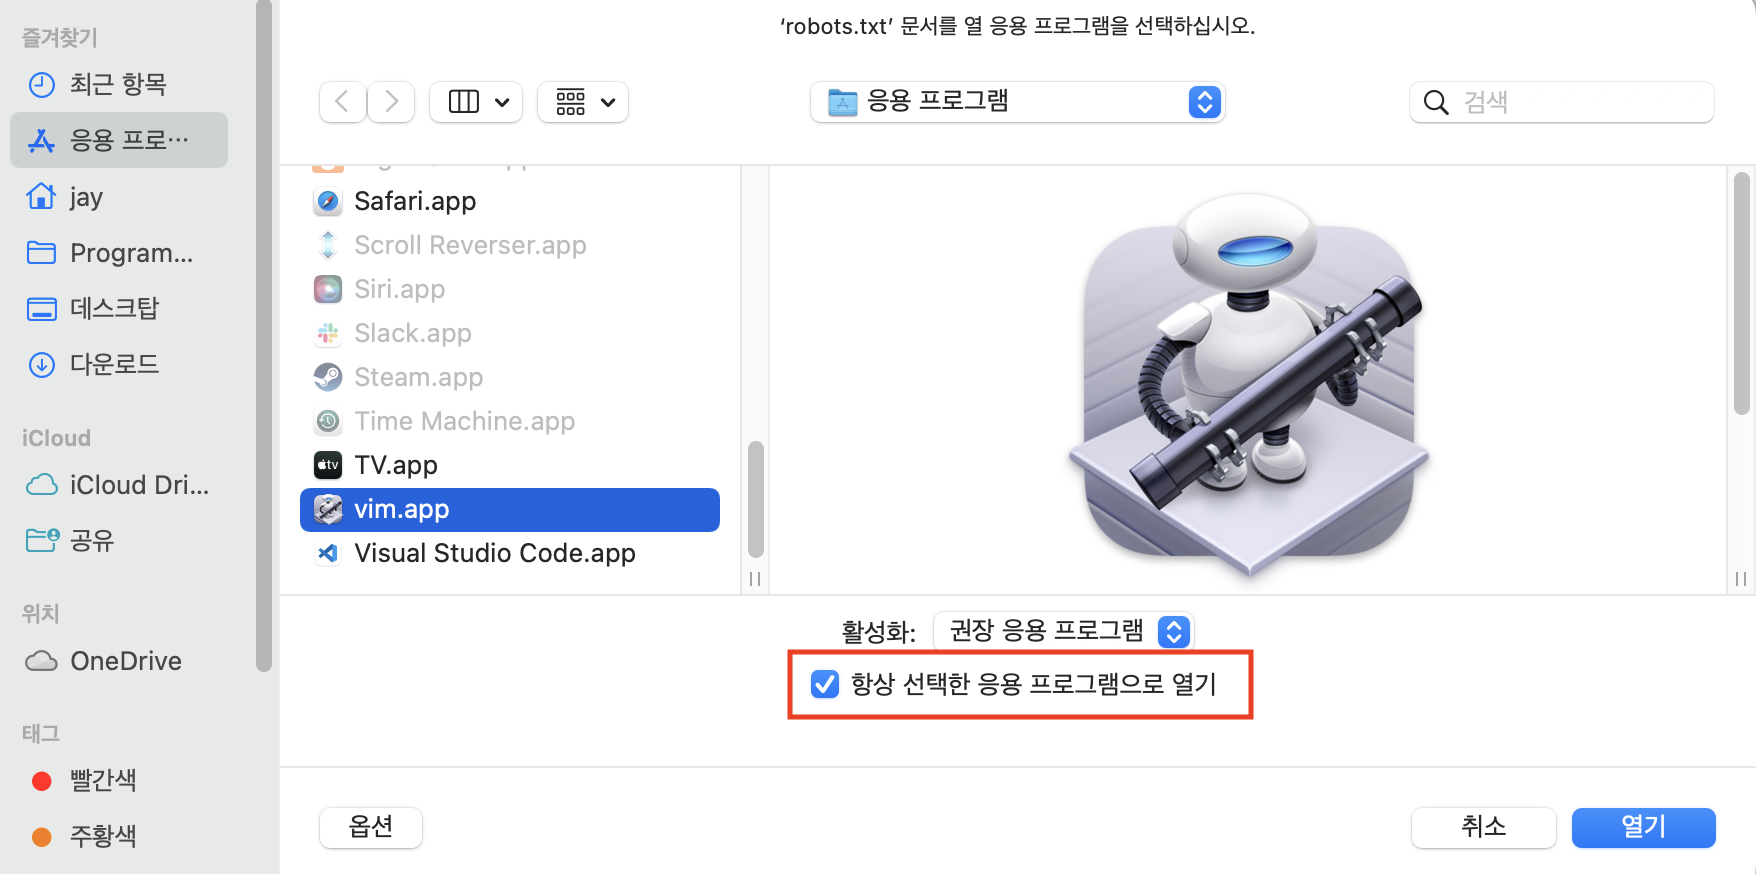
아래 사진에 따라 설정을 진행한다
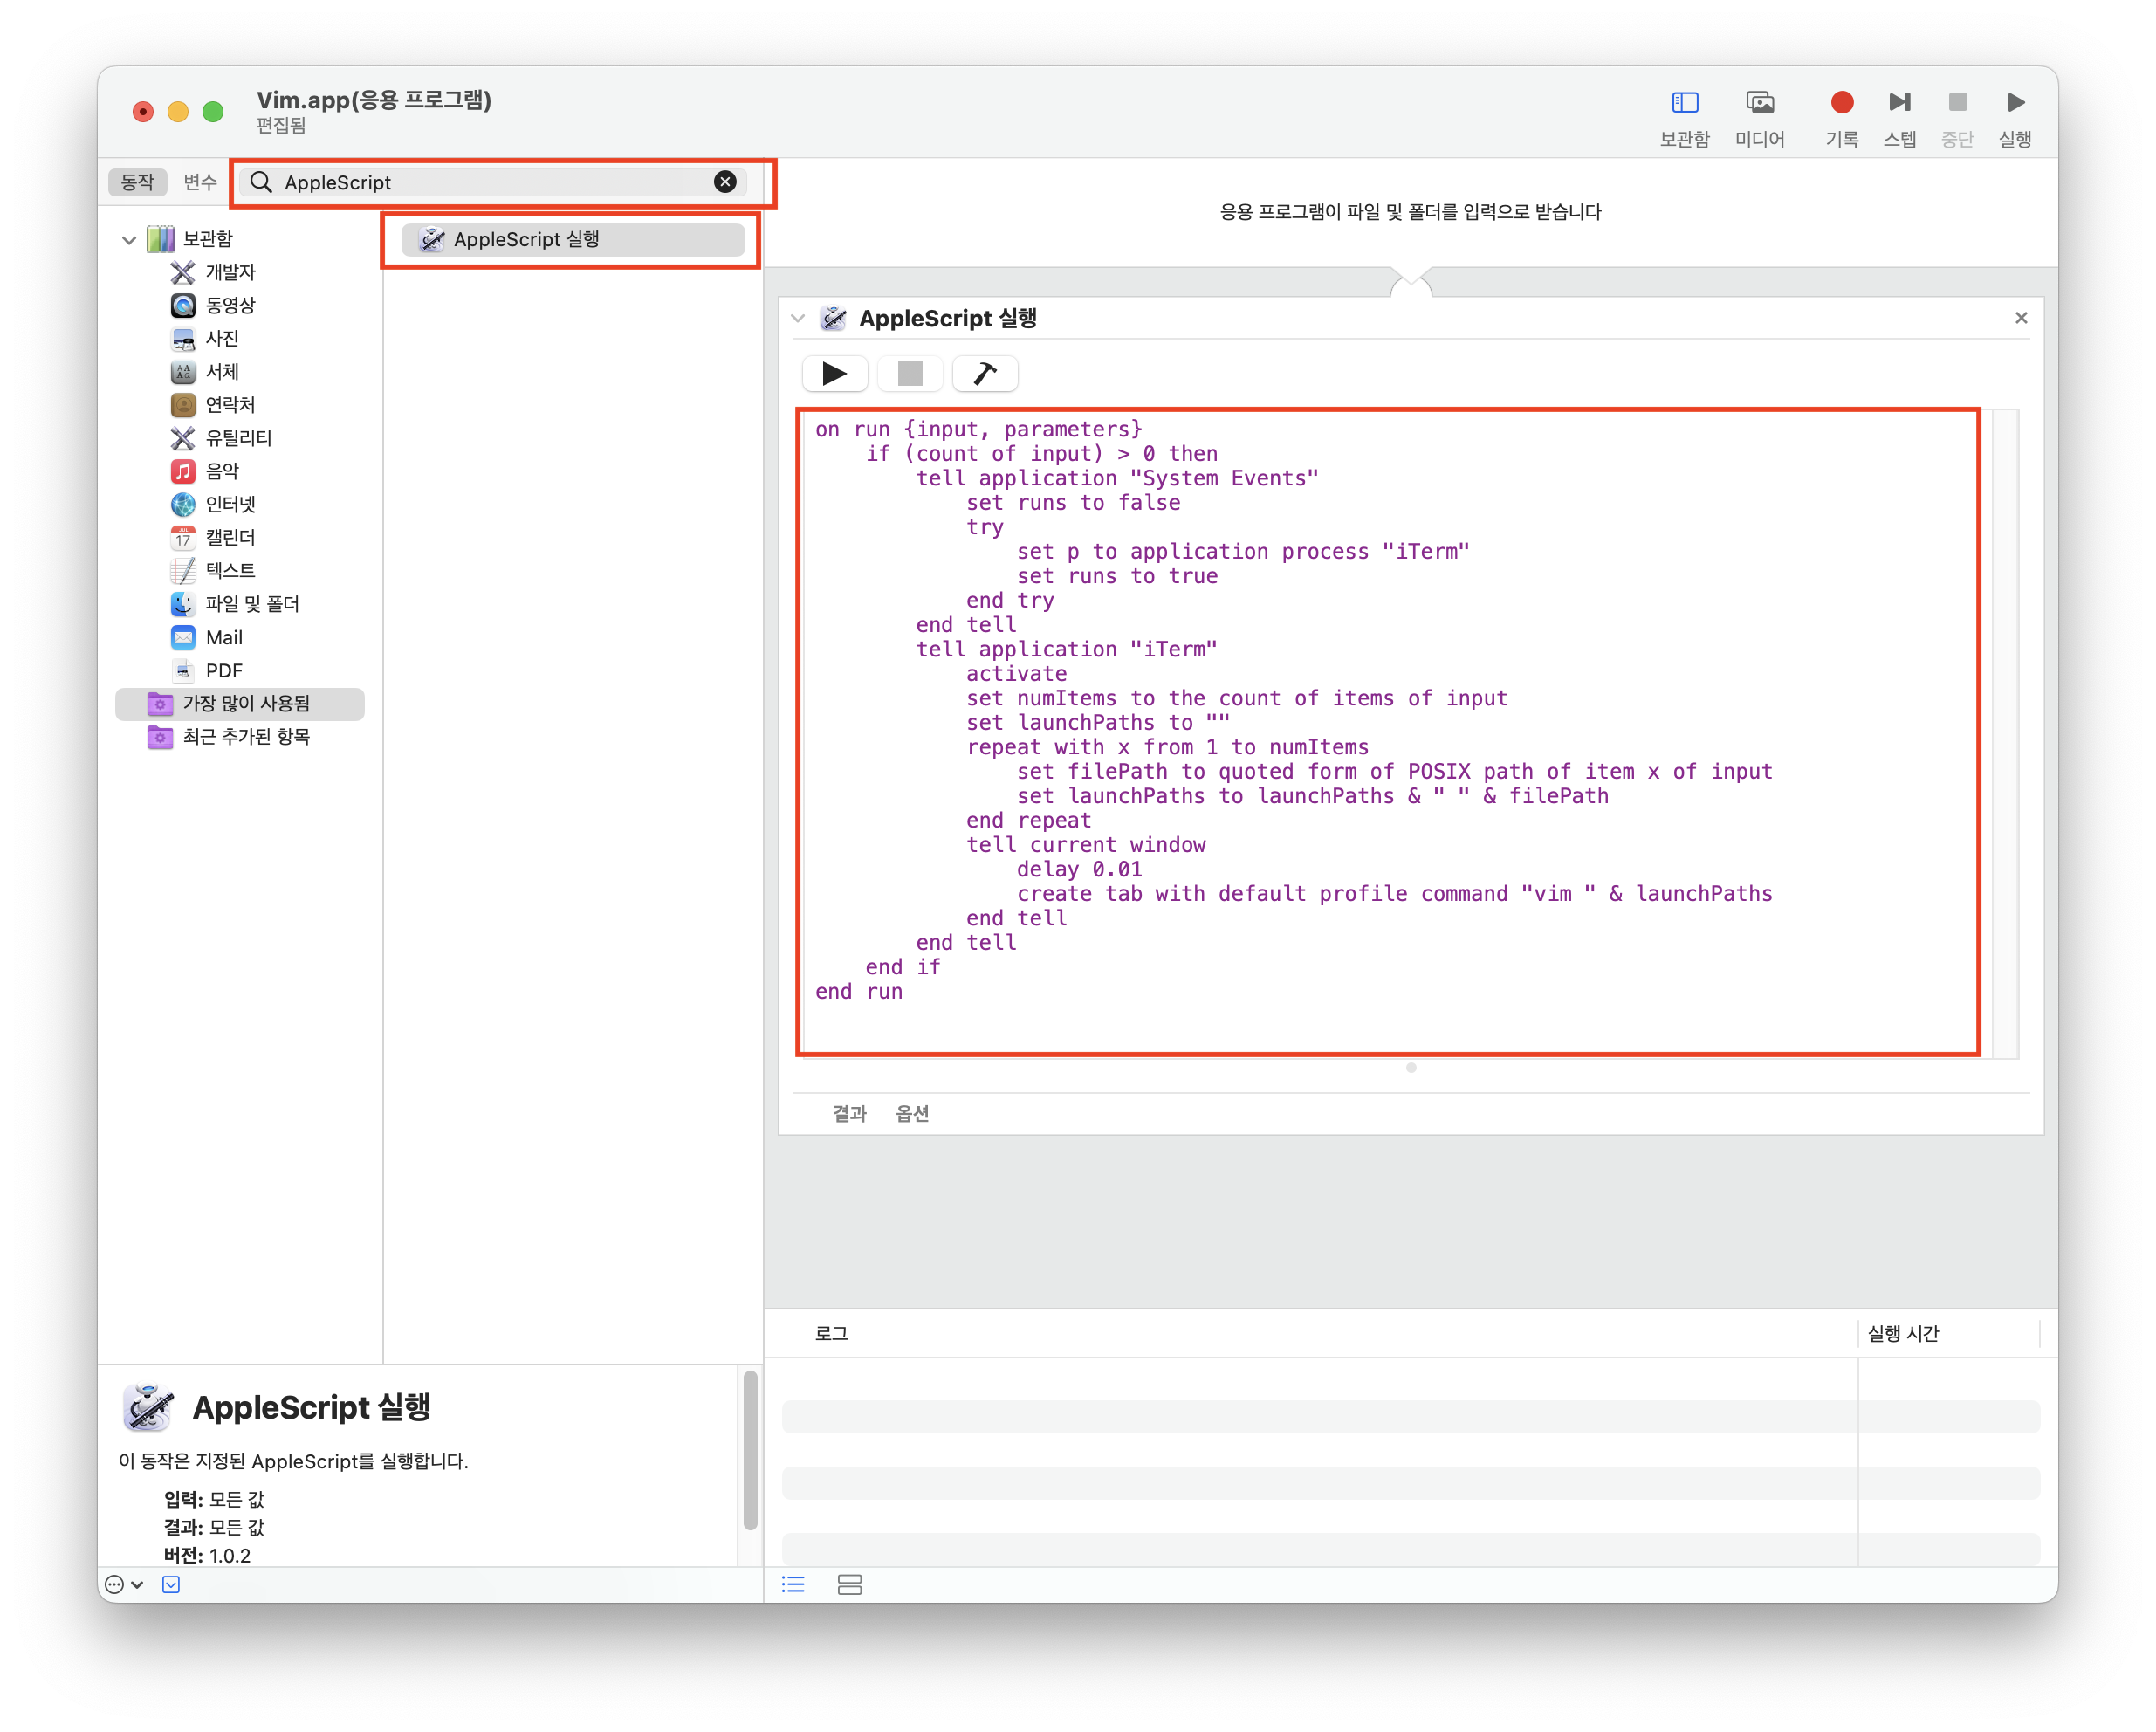
on run {input, parameters}
	if (count of input) > 0 then
		tell application "System Events"
			set runs to false
			try
				set p to application process "iTerm"
				set runs to true
			end try
		end tell
		tell application "iTerm"
			activate
			set numItems to the count of items of input
			set launchPaths to ""
			repeat with x from 1 to numItems
				set filePath to quoted form of POSIX path of item x of input
				set launchPaths to launchPaths & " " & filePath
			end repeat
			tell current window
				delay 0.01
				create tab with default profile command "vim " & launchPaths
			end tell
		end tell
	end if
end run
코드의 출처는 글 아래에 명시해 놨는데, 해당 글에서 소개한 코드에서 create tab ... 바로 위 라인에 delay 0.01 코드가 추가된 것을 알 수 있다.
맥 버전이나 기종마다 다른지는 확실히 알 수 없지만, 내 경우 이렇게 딜레이 코드를 넣지 않으면 iterm이 실행중이지 않을 때 텍스트 파일을 열면 iterm만 실행되고 Vim은 실행되지 않는 문제가 생겼다.
실행 결과

출처
'mac_os' 카테고리의 다른 글
더보기| (MacOS) Vim을 기본 텍스트 에디터로 사용하기 | 2022. 03. 22 |
|---|---|
| M1 맥 GPU 가속 지원하는 텐서플로우 개발환경 세팅 | 2022. 03. 17 |